How To Make A Mud Kitchen


Gallery
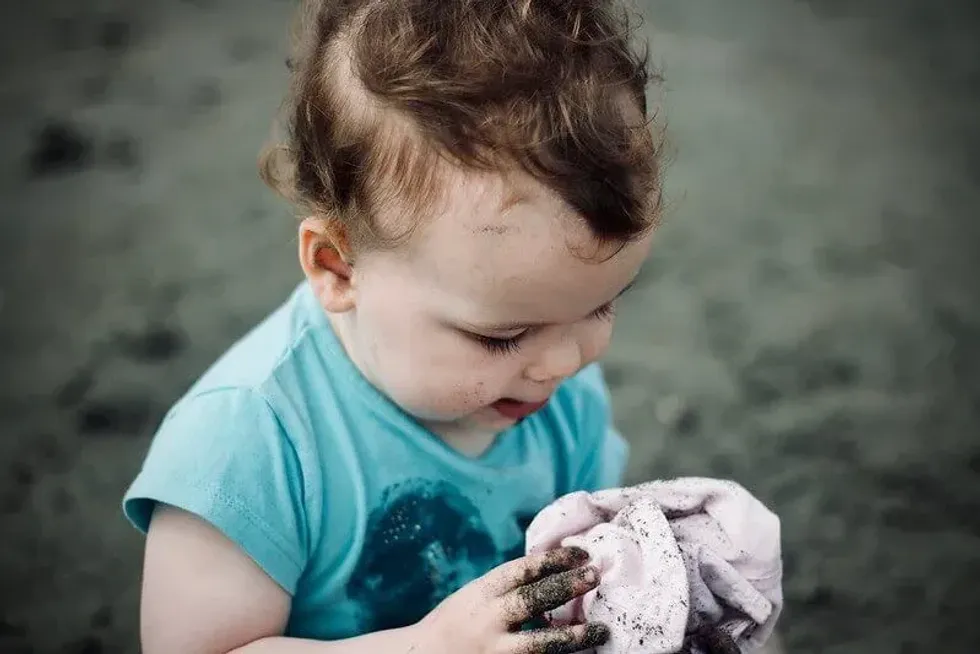
There's something about kids and mud that is magnetic - so we say embrace the dirt and equip your garden with a mud kitchen so they can get busy making mud pies, mudshakes and cakes.
The humble mud kitchen has exploded in popularity in recent years and no wonder - it's the perfect way for children to develop and hone their fine motor skills and cognitive skills.
It provides kids with plenty of scope for imaginative play and if they play alongside siblings or friends there's also lots of opportunity for turn-taking, communication and enhancing other social skills. Outdoor play is an important element of kids' learning and understanding of our world and mud kitchens give them something relatable to play with.
But don't despair if you don't know how to make a mud kitchen or haven't got hundreds of pounds to fork out buying a ready-made one.
It's simple to make one using surplus materials and it'll be created in no time. Read on for our favourite DIY mud kitchen ideas.
Basic Mud Kitchen

Start small with this improvised kitchen - it takes up minimal space and can be constructed in around 10 minutes. It's the perfect starter design for little kids, plus no DIY skills are needed.
You will need:
Bricks
Lengths of wood
Step one: Start by stacking two piles of old bricks, that are far enough apart to balance your wood on. Adjust the height of each pile according to how tall your child is. Stack your bricks in pairs alternating the direction they face to make the structure sturdy.
Step two: Place a length of wood on top of the bricks. To make a bigger kitchen stack more bricks on the ends of this length and repeat the first step.
Step three: You can add as many layers to this as you like using the shelves created to store old pots and pans. You can add extra details like hooks on the side to hang utensils or cups.
Kitchen Cupboard Mud Kitchen

If you or someone you know is replacing your kitchen grab a couple of the cupboards to repurpose out in the garden. This is a great option for older kids but you'll need some DIY skills and a bit of time.
You will need:
Old kitchen cupboards
Outdoor paint/varnish
Dog water bowls
Piece of MDF as wide as the cupboard and around 50 per cent taller
Step one: Start by painting or varnishing your cupboard. Make sure you use a product designed for the outdoors.
Step two: Attach your piece of MDF to the back of the cupboard to create a splashback. Fix it with screws and then paint or varnish it.
Step three: Using a jigsaw cut out a circle slightly smaller than the size of the bowl. Now you can drop the bowl in the hole to create a sink.
Step four: You can add shelves to the splashback to store pots and pans. Use plastic containers to story utensils inside. You can personalise your work by carefully stencilling the child's name on it.
DIY Mud Kitchen From Drawers

You can transform just about any piece of furniture into a mud kitchen. Consider the size of your kids - this option using a chest of drawers is ideal for kids aged 6+ due to the height.
You will need:
Chest of Drawers
Washing up bowl
Outdoor paint/varnish
Step one: Remove the top drawer of your chest of drawers. Using a jigsaw cut out a shape slightly smaller than your washing up bowl, and then position the bowl in the hole to form a sink. You may like to have two sinks in which case repeat this step.
Step two: Paint your mud kitchen using exterior paint so it is durable.
Crate Mud Kitchen

You will need:
At least three crates
Large plastic box that will fit inside a crate
Step one: Place your plastic box inside one of your crates - this will be the sink area.
Step two: Place your two other pallets one on top of the other with the opening facing out. This provides room to store the mud kitchen paraphernalia.
Step three: If you plan to store your mud kitchen outside then you may like to varnish it to boost its longevity. However, this is so simple to assemble you could pack it away into the shed after each use.
Wood Pallets Mud Kitchen

If you can lay your hands on some old pallets you can easily build a basic mud kitchen. The more pallets you have the more involved your design can be. This DIY mud kitchen pallet design requires just two pallets and minimal skill.
You will need:
Two pallets
Piece of MDF which is the length of a pallet and the width of half a pallet
Screws
Outdoor paint
Washing up bowl
Step one: Position one pallet on its end so it's taller than it is wider - this will form the back of your mud kitchen.
Step two: Saw the other pallet in half. Screw each piece to the back so it forms two sides.
Step three: Cut a hole in the MDF big enough so your washing up bowl can sit in it unsupported. Fix your length of MDF across the two half pallets to create a worktop.
Step four: Paint your mud kitchen. If you have leftover pieces of wood or extra pallets you can use them to create shelves to the back or sides or to make a chalkboard menu board.
How to dress your mud kitchen:
Look for second-hand pots and pans in charity shops or hit pound shops for cheap options. You'll want to go for metal and plastic so they are durable for kids to play with and unlikely to be damaged by bad weather.
You can use washing up bowls for sinks. Or a metal pet bowl with a lipped side or large plastic box will work equally well depending on the space you're working with.
Get creative and paint on details like oven controls above doors, hobs on worktops and so on. There are lots of ways to personalise your kitchen. Ideas and inspiration can be found online.
Keep empty jars and plastic food containers to be used in outdoor play. Make it more realistic by filling them with cheap and cheerful rice or pasta which budding chefs can stir into a mud pie if they want.
If you have a pallet you can break it up and use the slats for shelves.


We Want Your Photos!
More for You


See All
Bachelor of Arts specializing in Literature
Cora LydonBachelor of Arts specializing in Literature
With a passion for inspiring her children, Cora is a journalist with a Bachelor's degree in Literature from the University of Suffolk. She is also a children's book author living in Suffolk. She enjoys seeking out creative activities and places for her family to explore, often resulting in messy crafts at the dining table.
Disclaimer
1) Kidadl is independent and to make our service free to you the reader we are supported by advertising. We hope you love our recommendations for products and services! What we suggest is selected independently by the Kidadl team. If you purchase using the Buy Now button we may earn a small commission. This does not influence our choices. Prices are correct and items are available at the time the article was published but we cannot guarantee that on the time of reading. Please note that Kidadl is a participant in the Amazon Services LLC Associates Program, an affiliate advertising program designed to provide a means for sites to earn advertising fees by advertising and linking to Amazon. We also link to other websites, but are not responsible for their content.
2) At Kidadl, we strive to recommend the very best activities and events. We will always aim to give you accurate information at the date of publication - however, information does change, so it’s important you do your own research, double-check and make the decision that is right for your family. We recognise that not all activities and ideas are appropriate for all children and families or in all circumstances. Our recommended activities are based on age but these are a guide. We recommend that these ideas are used as inspiration, that ideas are undertaken with appropriate adult supervision, and that each adult uses their own discretion and knowledge of their children to consider the safety and suitability. Kidadl cannot accept liability for the execution of these ideas, and parental supervision is advised at all times, as safety is paramount. Anyone using the information provided by Kidadl does so at their own risk and we can not accept liability if things go wrong.
3) Because we are an educational resource, we have quotes and facts about a range of historical and modern figures. We do not endorse the actions of or rhetoric of all the people included in these collections, but we think they are important for growing minds to learn about under the guidance of parents or guardians.