5 Best DIY Paper Flower Wreaths

Gallery
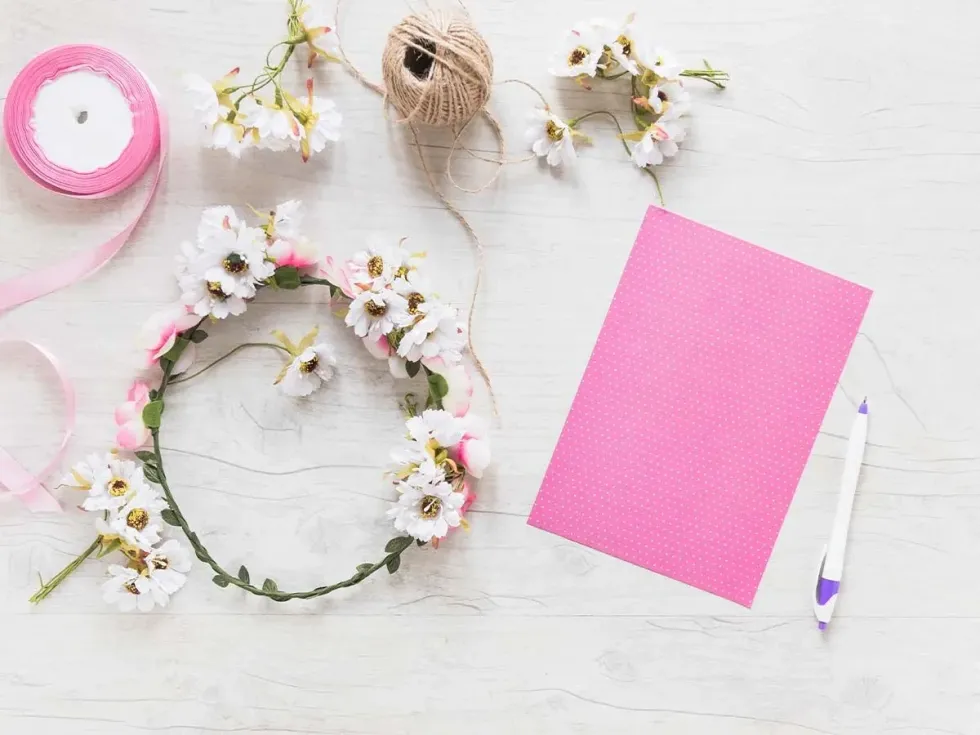
Image © freepik, under a Creative Commons license.
As gorgeous as real fresh flowers are, sometimes you might be after a longer lasting alternative.
Paper flowers are definitely the way to go, and there are just as many varieties. From dahlias to daisies, you can recreate your favourite florals in paper, and have them last all summer long.
The idea of a wreath may make you think of more festive times, but a paper flower wreath is the perfect home décor item for any time of year, not to mention paper crafts are easy, cheap and fun! A paper flower wreath makes a beautiful gift too, and you can tailor your design to the holiday or occasion.
Be as adventurous as you like with huge crepe paper flowers on a giant wreath, or keep it simple with some delicate paper roses.
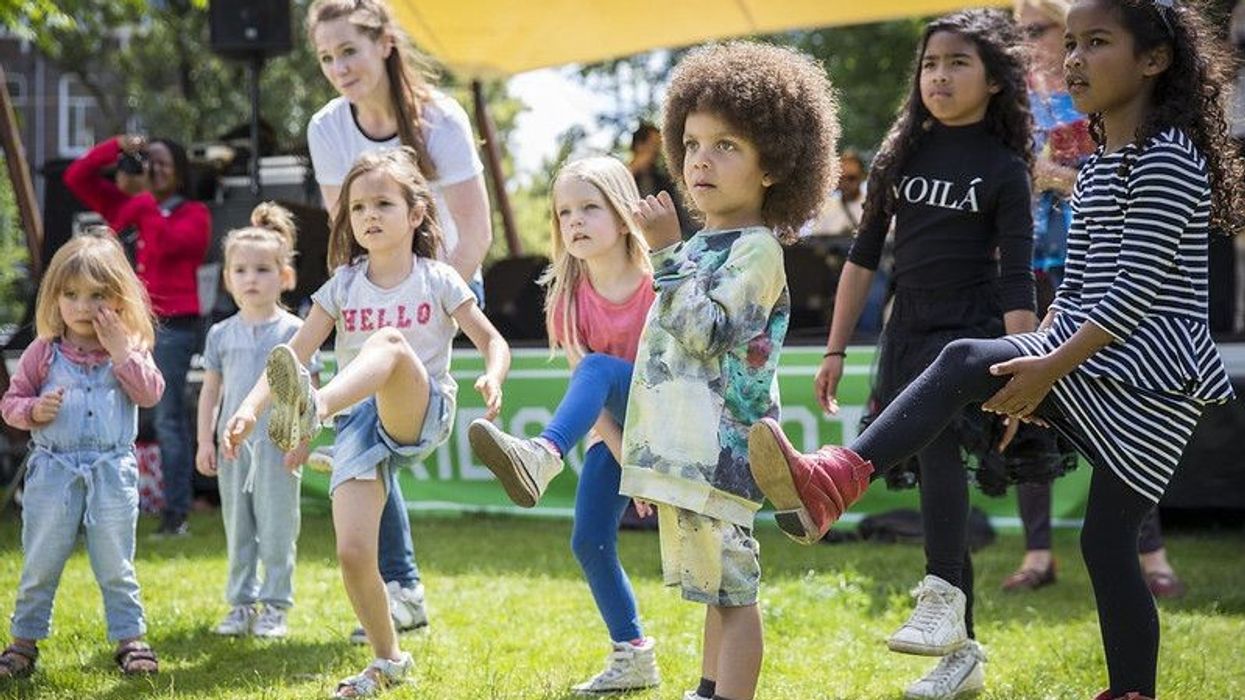
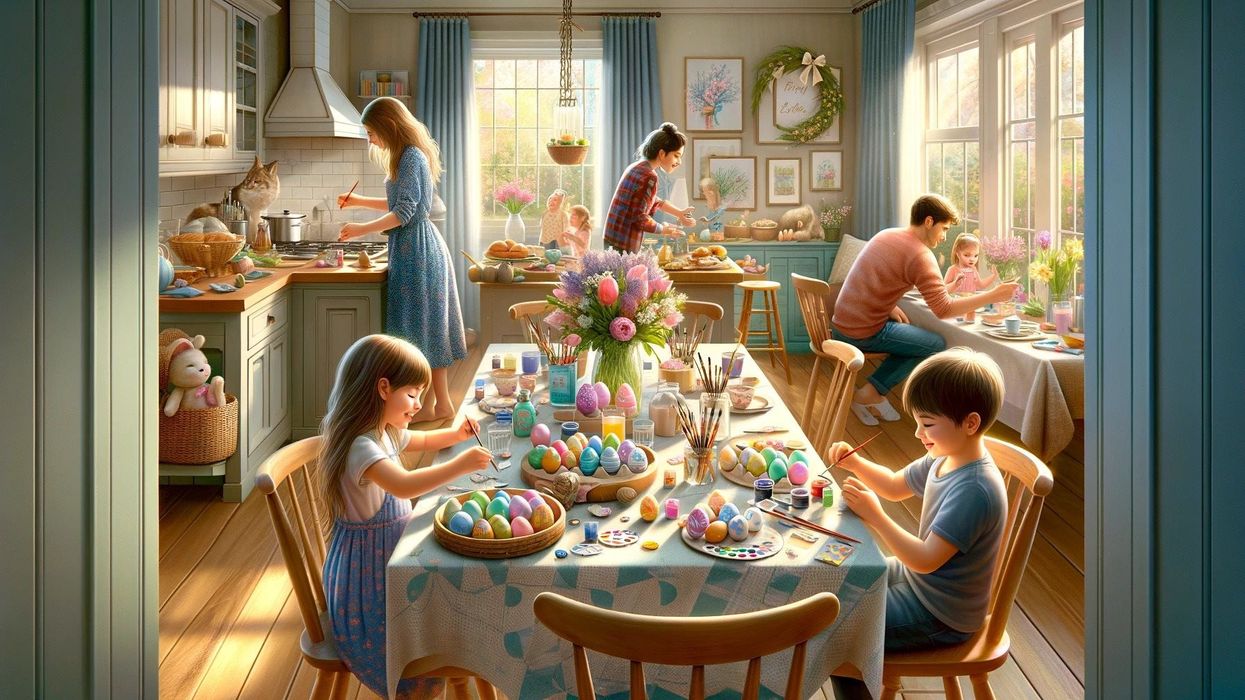
DIY projects like this are great to get the kids involved with, there is plenty of cutting and sticking so little ones can have lots of fun, while older kids can focus on getting creative with colour and arrangements. You could decorate every room in the house with a different paper flower door wreath.
Antique Paper Flower Wreath
Save those old magazines from the recycling and make this beautiful antique style paper flower wreath instead.
Ages: 4+
Materials: Magazine, newspapers, or even old books if you can bear to rip them up! Cardboard hoop, or craft shop wreath, buttons, a hot glue gun/double sided tape or craft glue.
Method:
1.Take your book pages, or magazine and newspaper sheets and tear up enough to cover your hoop.
2.Use your recycled paper to create all kinds of paper flowers to decorate your wreath, you can make very simple 2D flowers just by cutting out the shapes, and using a button for the middle.
Or cut out a circle of paper, draw a swirl from the middle out, cut along this line and then carefully roll the paper back up to create paper roses.
Add some paper leaves to fill in any gaps in the wreath.

Image © pressfoto, under a Creative Commons license.
Rustic Floral Wreath Frame
This paper flower wreath is super simple but really rustic and inventive- you won't even be able to tell that it was originally a bunch of loo rolls (thank goodness). The simple shape of this paper wreath makes it perfect as a frame too.
Ages: 4+
Materials: Around 15-20 cardboard tubes, a hot glue gun or craft glue, paper clips (if you are using craft glue), ribbon and spray paint/paint (optional).
Method:
1.Fold your cardboard tube so it flattens slightly, and snip into 2.5cm sized pieces. These should be in the shape of a pointed oval 'petal'. Take about ten of these shapes and form a flower, you can hot glue these or use craft glue and secure with paper clips until they are dry.
2.Once the flowers are dry you can arrange into a wreath shape, and glue them to one another. You could just do one simple loop of flowers or make lots and build the wreath outwards.
3.For a finishing touch, paint or spray paint your paper flower wreath.

Image © azerbaijan_stockers, under a Creative Commons license.
Leafy Green Paper Wreath
So not technically paper flowers, but this fresh-looking eucalyptus and gorgeous mix of greens make a pretty and natural-looking wreath. This wreath looks particularly effective on a wire or wooden hoop.
Ages: 4+ (These leaves can be a little bit rough around the edges, great for some supervised practising with scissors for kids)
Materials:Card in different shades of green, or plain card/paper coloured in or painted, green tissue and/or crepe paper, scissors, a wooden hoop (a large embroidery hoop is perfect), floral wire, double sided tape or a hot glue gun.
Method:
1.Cut out lots of different types of leaves in different shades of green out of card, tissue and crepe paper. Eucalyptus leaves look most realistic threaded onto floral wire and then wrapped around your wreath.
2.Use double sided tape or a hot glue gun to arrange your leaves all over the wreath, to make yours look particularly stylish, just decorate the lower side or quarter of the hoop, leaving some of the wood showing.

Image © seventyfour, under a Creative Commons license.
Perfect Pom Pom Flower Wreath
These puffy flowers look great on a large scale, with some smaller ones dotted here and there around the wreath.
Ages: 4+
Materials Needed: Tissue paper and/or crepe paper, twine or string, cardboard hoop, hot glue gun/glue stick, and scissors.
Method:
1.Fold your paper into five and cut out a square. The bigger your square the bigger your paper flower pom pom will be.
2.Fold your layers of paper together accordion-style, so you have a rectangle. Tie your string or twine around the centre of the rectangle to secure the layers, then snip excess.
3.To create the petals, cut the corners of the rectangle to create a curve on either end. Now you can gently pull the layers of tissue towards the string at the centre t unfurl your flower pom pom. Repeat these steps until you have enough flowers to cover your hoop.
4.Simply stick, glue gun, or tie your fluffy pom pom flowers all over the front of your cardboard wreath until no cardboard can be seen.
Delightful Giant Dahlia
This wreath is actually one giant flower! It is super easy to put together so would be suitable for little kids to help with the sticking once you have made all the petals.
Ages:4+
Materials Needed:Large cardboard circle (left whole) for the base, coloured card for lots of petals (cut your card into squares in sizes 12x12cm, 6x6cm, with extra card for more if you need them), scissors, glue dots and/or double sided tape (if making without kids, a hot glue gun is the speediest option!).
Method:
1.Take your squares of card and bend into a cone shape, secure like this with tape or a glue dot. Repeat until you have a lot of these, or make and stick onto the card base as you go along.
2.Start sticking your larger petals to the circular base, start on the outer edge and work your way into the middle, after three or so layers of large cones, switch to the next size down and continue until you reach the centre of the circle.
3.Your dahlia is complete! This flower 'wreath' is most effective with a few different colours to create a gradient.


We Want Your Photos!
More for You
See All
Bachelor of Arts specializing in Fashion/Apparel Design
Amy LinesBachelor of Arts specializing in Fashion/Apparel Design
With a degree in Fashion Design from Falmouth University, Amy has a passion for textiles, tiles, art, ceramics, and houseplants which she enjoys filling her beautiful home in Hampshire with. She also has a keen interest in infant and child sleep patterns and mindfulness for adults and children, inspired by her energetic and chatty three-year-old daughter. When not exploring the outdoors, Amy can be found painting, knitting, and dancing at home.
Disclaimer
1) Kidadl is independent and to make our service free to you the reader we are supported by advertising. We hope you love our recommendations for products and services! What we suggest is selected independently by the Kidadl team. If you purchase using the Buy Now button we may earn a small commission. This does not influence our choices. Prices are correct and items are available at the time the article was published but we cannot guarantee that on the time of reading. Please note that Kidadl is a participant in the Amazon Services LLC Associates Program, an affiliate advertising program designed to provide a means for sites to earn advertising fees by advertising and linking to Amazon. We also link to other websites, but are not responsible for their content.
2) At Kidadl, we strive to recommend the very best activities and events. We will always aim to give you accurate information at the date of publication - however, information does change, so it’s important you do your own research, double-check and make the decision that is right for your family. We recognise that not all activities and ideas are appropriate for all children and families or in all circumstances. Our recommended activities are based on age but these are a guide. We recommend that these ideas are used as inspiration, that ideas are undertaken with appropriate adult supervision, and that each adult uses their own discretion and knowledge of their children to consider the safety and suitability. Kidadl cannot accept liability for the execution of these ideas, and parental supervision is advised at all times, as safety is paramount. Anyone using the information provided by Kidadl does so at their own risk and we can not accept liability if things go wrong.
3) Because we are an educational resource, we have quotes and facts about a range of historical and modern figures. We do not endorse the actions of or rhetoric of all the people included in these collections, but we think they are important for growing minds to learn about under the guidance of parents or guardians.